
I have been modeling an AT-AT from the Star Wars films, and i decided to texture it and render the final 3d model and composite the render into a background. The aim was to try and achieve as much realism as possible. You can see the final image above. I kept a log of the different segments that i had textured and iv decided to log them in this blog for people to see the process that was involved in producing the image above.
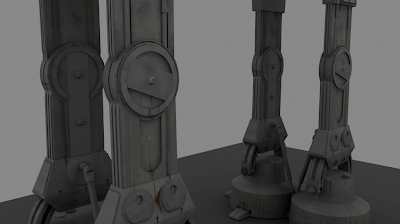
Early models of the AT-AT before texturing.


I started from the foot upwards, from research i noticed the At-At models seen in the film were very dirty and oily looking. So i decided my at-at would look quite run down and dirty.

To texture the base of the foot a took the Uv's from Maya and imported them into photoshop. I also added a bump map to the foot to provide extra detail.

The foot


I added more dirt to the underside of the ankle section in the 2nd picture, as this is where i thought the dirt would gather on a real at -at.
I then began to create the texture for the arch section joining the ankle with the foot.


Added rust to the ankle section


Upper leg section


Some more detail, i added a bump map to the inner circle section of the upper leg to show possible wear caused by the spinning element resting above.

Leg without texture

Leg with texture

Upper body textures


Head before texture


At-At fully textured ready for compositing in photoshop


To achieve the image above, I re-painted over a still I found from the film for the base of the background. Then using the different options in photoshop I altered the colour and look of the 3d AT-AT so it fitted better in the scene. I also blurred the feet quite a bit and added snowy winds to the areas around the feet. This helped a lot bedding the 3d model into the painted background. Adding a very pale white wind and mist to the body of the at-at and its surroundings also helped it sit in the scene.
I hope you like the final result
Do you have more detailed images?
ReplyDelete